All Categories
Featured
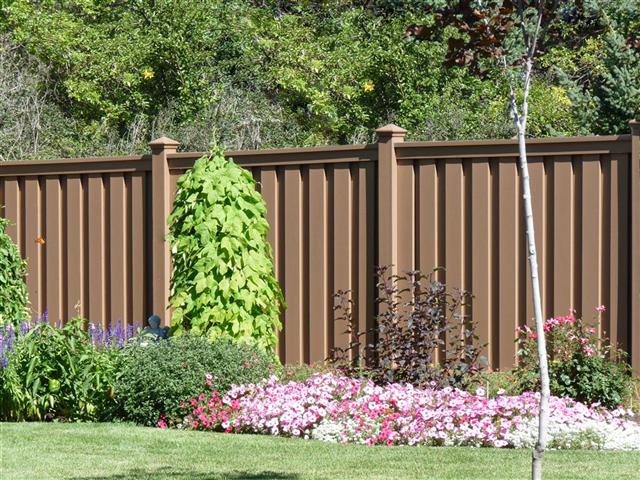
A leaning or harmed fence article can promptly end up being a trouble for your fence's stability and appearance. Whether it's triggered by weather conditions, dirt erosion, or tear and use, repairing a leaning or harmed fencing blog post is a vital job for preserving the honesty of your fence.
![]()
Rot: Wood fence articles are susceptible to rotting, specifically near the base, where moisture can collect. Cracks: Severe fractures can suggest that the message is as well damaged to be repaired. Shifting Soil: If dirt erosion or water drainage has loosened the ground around the article, it might be leaning without considerable damage to the blog post itself. You can choose whether the post can be repaired or needs to be replaced totally. when you have actually recognized the issue.
Shovel. Blog post opening digger. Concrete (quick-setting is best) Gravel (optional for water drainage) Degree. Sledgehammer or post puller. Wooden brace (optional for added support) Handwear covers and security goggles. Having everything all set prior to you start will conserve you time and effort during the procedure.
![]()
Concrete: For a strong, long-term remedy, pour quick-setting concrete around the base of the article. Follow the producer's directions for blending the concrete. After pouring it in, use a level to guarantee the article stays directly. Permit the concrete to set for a minimum of 24-hour to fully harden and cure.
Crushed rock: If you favor a less irreversible and quicker solution, gravel can additionally be made use of to support the post. Pour crushed rock right into the hole, loading it snugly around the base of the message.
Action 1: Get rid of the old post. Make use of a post puller or sledgehammer to loosen up the concrete or crushed rock surrounding the base of the article. Step 2: Once the old post is removed, dig a new opening that is deep sufficient to accommodate the new article. The hole should be about one-third the length of the blog post to make sure security. Step 3: Put the new blog post into the opening, and check that it's straight and aligned with the various other messages. Step 4: Safeguard the new article by loading the hole with concrete or crushed rock, complying with the very same steps as over for stablizing. 7. Reinforce with a Brace (Optional) You can include added support by using a wood support if you're stressed regarding the post moving prior to the concrete completely collections. Attach the brace diagonally from the top of the article to a nearby fencing blog post or the ground to hold the message in position while the concrete collections. This additional action can avoid the blog post from moving or leaning during the treating process.
Conclusion. Taking care of a leaning or harmed fencing article doesn't call for professional abilities-- just the right devices, products, and a little time. Whether you're straightening out a leaning blog post or changing one that's as well much gone, following these actions will help restore your fence's stability and look. With normal upkeep and punctual repair work, your fence will continue to secure your building and keep its value for many years to come.
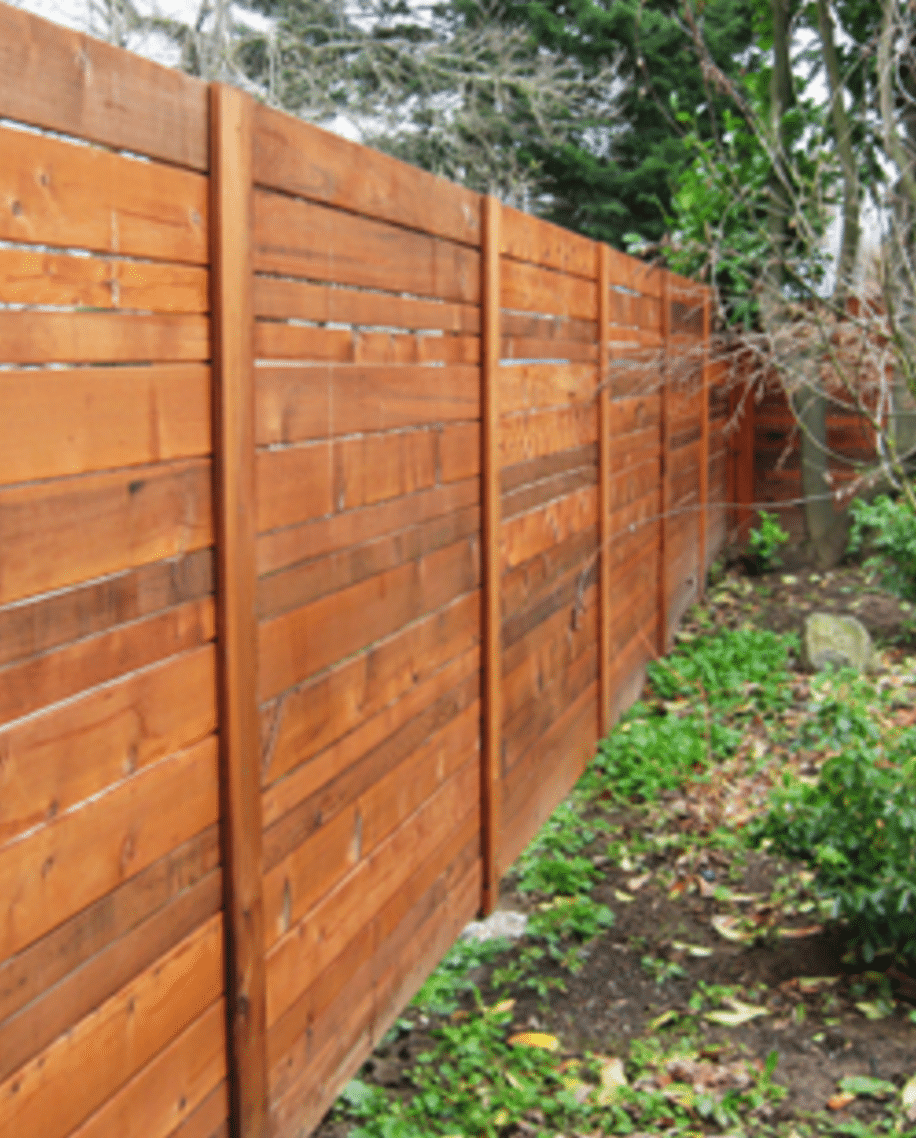
- Evaluate the Damages. The very first step out of commission a leaning fence message is to determine the extent of the damages. A leaning article may simply need some changes, but if the article is cracked, decayed, or broken at the base, it might need replacement. Take a close appearance at the adhering to:
Rot: Wood fence articles are susceptible to rotting, specifically near the base, where moisture can collect. Cracks: Severe fractures can suggest that the message is as well damaged to be repaired. Shifting Soil: If dirt erosion or water drainage has loosened the ground around the article, it might be leaning without considerable damage to the blog post itself. You can choose whether the post can be repaired or needs to be replaced totally. when you have actually recognized the issue.
- Gather the Required Tools and Materials. Prior to starting the repair work, collect all the tools and materials you'll require. Right here's a checklist of products for the task:
Shovel. Blog post opening digger. Concrete (quick-setting is best) Gravel (optional for water drainage) Degree. Sledgehammer or post puller. Wooden brace (optional for added support) Handwear covers and security goggles. Having everything all set prior to you start will conserve you time and effort during the procedure.
- Dig Around the Post. To repair a leaning post, you'll require to reveal the base of the message by excavating around it. Making use of a shovel, develop a hole around the article that's about 12 inches vast and 18-24 inches deep. If there's any damage listed below the surface area, this will permit you to examine and access the base. Be cautious not to harm the article itself while excavating, specifically if it's wood, as this might make the repair harder.
- Correct the Post. Once the base is subjected, straighten out the message if it's only leaning. For more severe leaning, it might need some extra pressure or the assistance of an assistant to hold the message in setting.
- Secure the Post with Concrete or Crushed rock. After the post is corrected, it's time to strengthen it. You have two primary options for supporting the post:
Concrete: For a strong, long-term remedy, pour quick-setting concrete around the base of the article. Follow the producer's directions for blending the concrete. After pouring it in, use a level to guarantee the article stays directly. Permit the concrete to set for a minimum of 24-hour to fully harden and cure.
Crushed rock: If you favor a less irreversible and quicker solution, gravel can additionally be made use of to support the post. Pour crushed rock right into the hole, loading it snugly around the base of the message.
- If Required, change the Blog Post. Sometimes, the fencing blog post may be also harmed to fix, such as when it's broken, decayed, or damaged at the base. Changing the message is needed if this is the situation. Below's how to replace a harmed fence message:
Action 1: Get rid of the old post. Make use of a post puller or sledgehammer to loosen up the concrete or crushed rock surrounding the base of the article. Step 2: Once the old post is removed, dig a new opening that is deep sufficient to accommodate the new article. The hole should be about one-third the length of the blog post to make sure security. Step 3: Put the new blog post into the opening, and check that it's straight and aligned with the various other messages. Step 4: Safeguard the new article by loading the hole with concrete or crushed rock, complying with the very same steps as over for stablizing. 7. Reinforce with a Brace (Optional) You can include added support by using a wood support if you're stressed regarding the post moving prior to the concrete completely collections. Attach the brace diagonally from the top of the article to a nearby fencing blog post or the ground to hold the message in position while the concrete collections. This additional action can avoid the blog post from moving or leaning during the treating process.
- Maintain and inspect. As soon as the fence post is fixed or changed, it is necessary to inspect the surrounding area for future problems. Search for any kind of indicators of soil disintegration, water drainage, or pressure from nearby plants or trees that might affect the security of the article. Occasionally check your fencing to ensure that the blog posts remain upright and strong.
Conclusion. Taking care of a leaning or harmed fencing article doesn't call for professional abilities-- just the right devices, products, and a little time. Whether you're straightening out a leaning blog post or changing one that's as well much gone, following these actions will help restore your fence's stability and look. With normal upkeep and punctual repair work, your fence will continue to secure your building and keep its value for many years to come.
Latest Posts
Find Out Reduce Expenses on Car Maintenance with Montclare Auto Repair’s Limited-Time Deals
Published May 31, 25
1 min read
Explore Special Auto Repair Deals in Chicago at Montclare Auto Repair
Published May 30, 25
1 min read
Discover the Premier Auto Repair Offers in Montclare, Chicago
Published May 25, 25
1 min read
More
Latest Posts
Find Out Reduce Expenses on Car Maintenance with Montclare Auto Repair’s Limited-Time Deals
Published May 31, 25
1 min read
Explore Special Auto Repair Deals in Chicago at Montclare Auto Repair
Published May 30, 25
1 min read
Discover the Premier Auto Repair Offers in Montclare, Chicago
Published May 25, 25
1 min read